Good morning!
And restful Labor Day wishes to those in the U.S. and Canada!
"Serendipity ~ the occurrence and development of events
by chance in a happy or beneficial way."
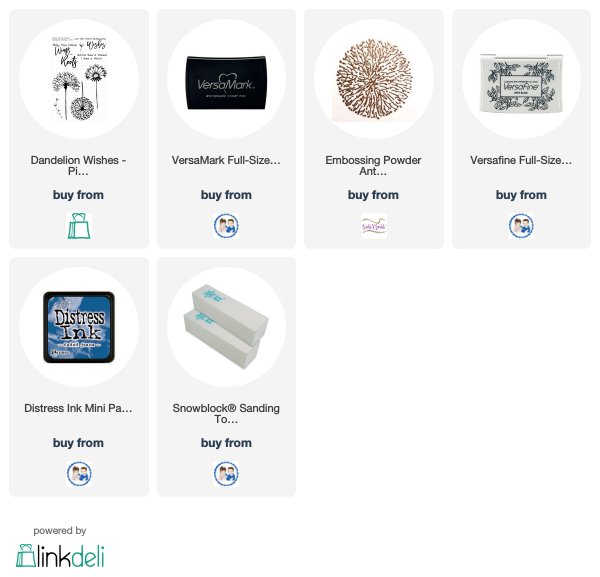
Today I want to share a technique with you called "Serendipity" that I learned from my friend Sabrina - basically called that because of the random nature of the technique. It's a little stamping, a little mixed media, and a ton of fun. While it may be time consuming, I really did enjoy making the squares, and the entire process, and felt so artsy! :)I am using Dandelion Wishes from Picket Fence Studios and a few other supplies you should have on hand. Ready? Ok, here we go!
1: Choose some heavy paper/light cardstock for your base. It won’t really show, so the color doesn’t matter too much. Also pick out some scraps of patterned paper – they should coordinate with each other for the best end result. I worked with a half sheet of kraft.
The following photos are steps 2-4.
2: Tear your patterned papers into small pieces about the size of the top joint of a finger. I also used a monoprint I had made when I was learning (and I didn't like at all), and it really blended in nicely and gave my art a great texture! It may look like a total mess – don’t worry!!3: This is the slow part – stick them all onto your base layer, overlapping them. A glue stick works well – if you have a large Xyron you could use that. I used the green Mono glue.
4: Start stamping and embossing randomly on it. I used one of the dandelions and embossed it three times, then stamped with Distress Oxide ink a couple of more times. If you emboss, make sure the ink on regular stamped parts is dry before you add the EP. I also used an embossing buddy and ran it over the entire project to catch any sticky glue before I embossed. If you end up with a bit of EP where you don't want it, that's no big deal, it's all part of the serendipity!
Let your imagination run free here – you’re not limited to stamping or stenciling. It still looks a total mess – still don’t worry!!
 5: Now – cut it into small pieces and all of a sudden your mess doesn’t look like a mess any more, each little piece is a work of art. They don’t have to be square – they can be any shape you like!
6: And finally -- you can design and put your little works of art into a bigger work of art, like this card! I stamped my image and sentiment with VersaFine Onyx Black (my favorite), and then adhered all of the layers. Lots of fun texture, shimmer, and art!


Oh this is neat, Judy! I’m going to try this :D
ReplyDelete