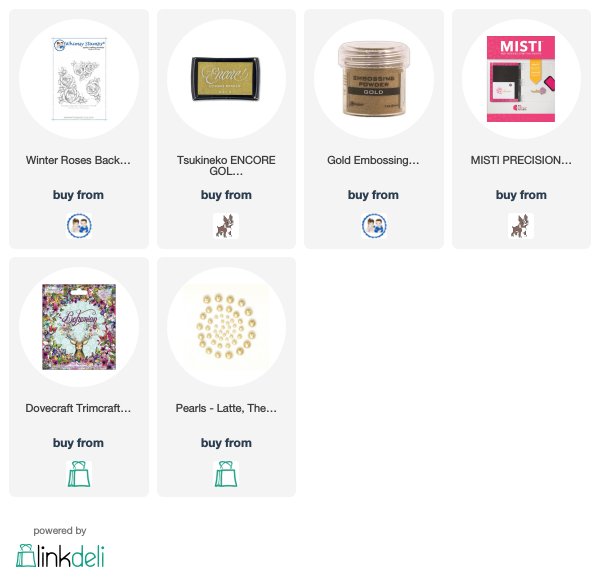
One of the techniques that I loved the first time I saw it was heat embossing. It's just like magic to watch, isn't it? And I still love the raised, elegant look. In my card today, I am using one of the beautiful October releases from Whimsy Stamps, Winter Roses.
It can be a large background stamp, or you can use each image separately, as I have done in today's card.
I started by stamping the rose with gold metallic ink on watercolor paper, and then embossing with gold powder. I watercolored using my Blue Bayou reinker (I know it looks green, but it's in the blue-green family!) and an aqua brush. Once I had my rose painted, I added the leaves with Mellow Moss (both inks from Stampin' Up). I stamped the sentiment words separately with my MISTI, also using gold ink and powder.
Because of the simple stamped design, I had the opportunity to use a beautiful pearlized pattern paper from the Bohemian collection with peacocks that matched perfectly! I added some lace (Michael's) and pearls (Kaisercraft) and mounted each layer on Champagne Metallic cardstock (Prism). I love how it turned out! What do you think?
Just for fun - I think my daughter's cat likes it:
Hello!
Today I am sharing a card using a combination of older and newer styles. I love patterned paper - it's something I love to look at, hoard, and buy! But I also love having fun with backgrounds using distress inks, watercolor paint, and monoprints.
My images today are from Coffee With Character and Caffeinated Sentiments. I also used the Coffee With Character matching die set.
My background was made on watercolor paper, splattering ink from my Kuretake Gansai Tambi paints. I had a large enough piece to stamp my coffee mug and heart, and my French press on the same paper. I cut them out using the matching dies. I cut the bottom part of the card at an angle for interest, and adhered it to some wild safari patterned paper. I also cut a circle frame from the same paper.
I popped up the two images inside the circle, and added a little "coffee love" sentiment along the bottom, following the angle. Finally, I added a layer of washi tape on my card base, as well as along the angled panel.
Old and new - and coffee is always in style!
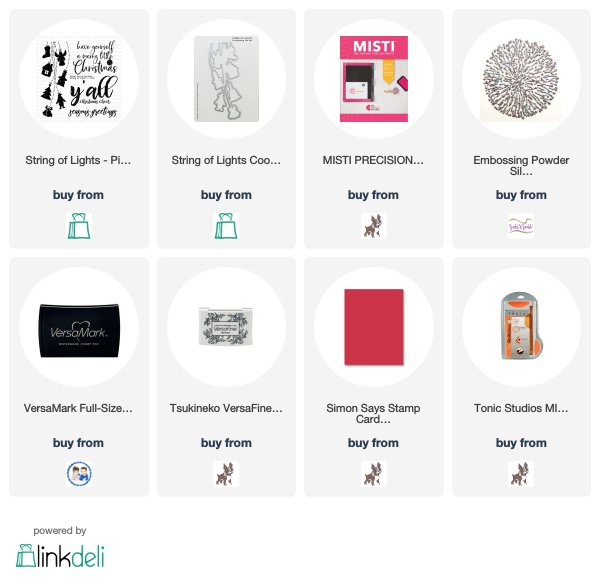
Today I am sharing a super cute, easy-to-make holiday card using String of Lights and the coordinating die from Picket Fence Studios. Red and white always makes me think of peppermints and Christmas candy, so I chose a patterned paper from my stash that fit that design.
I stamped my image with VersaMark ink, and then embossed it with glittery Silver Lightning Embossing powder (Sparkle N Sprinkle). Then the best part - having a matching die! The sentiment (from Santa's Mischief) is stamped with VersaFine Oynx Black ink. Simple and easy, and a cheery holiday greeting!
It's Release Day at Picket Fence Studios and you will LOVE all of the amazing new things - stamps, dies, ink, stencils..... I just could not decide which sets to highlight today, so it's a good thing I can show more later!
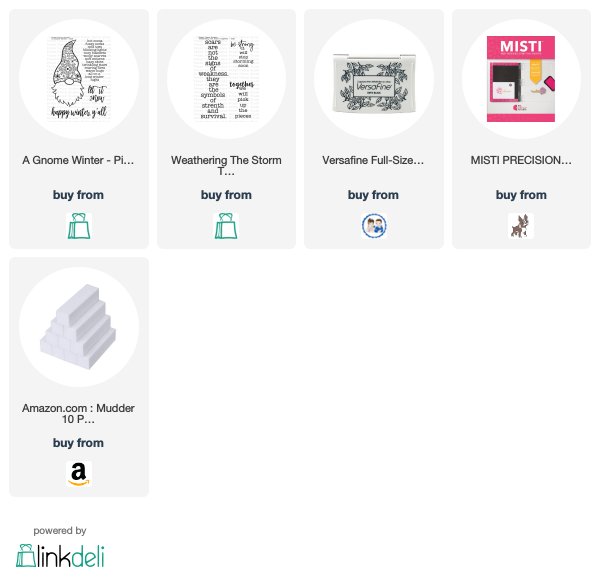
My card is using the adorable A Gnome Winter set. This little guy is the cutest! I made a very traditional card, coloring him with alcohol markers, and using different patterned papers to complement his sweet hat!
Head over to Picket Fence Studios and see all of the awesome October Release -- plus check out the Facebook page and Instagram account to see my teammates' creations!
Here is a super fun Halloween card using the brand new Whimsy Stamps' PEEKABOO WINDOW 2 die. Isn't it fun? There are so many awesome possibilities for this die! But -- because it's almost Halloween, I knew my little fat spider would be making his home in one of those squares!
I have had that spider sticker for a looong time, and finally found the perfect place for him.
I stamped the WEB BACKGROUND in VersaFine Gray, and then used some fun Doodlebug patterned paper for the die. I added BOO in black cardstock using the Bold ABC die set.
Fun and not too scary! Happy Halloween!
Happy World Cardmaking Day! I hope all my crafty friends got in at least one or two today!
I made this sweet flamingo greeting using my favorite color - PINK! I also love summer for its sunny days and trips to the beach!
This could be a perfect card to send during October's Breast Cancer Awareness month. My images are from Picket Fence Studios from a set called That's Flocking Great.
I used the newly released 3 1/2" Blending Stencil with Spun Sugar Distress ink, and then stamped my flamingos and sentiment in VersaFine Onyx Black ink. I added three pink sequins (Doodlebug) and some torn tropical paper for interest. Easy and fast and super cute! Don't you love their eyes?
Through the weekend, PFS is having a SALE! See below!
Challenges:
I am just in awe of the new releases every month at Whimsy Stamps.
There is always something for everyone - stencils, digital images,
backgrounds, red rubber, and cling! Plus the array of designs each month
is just astounding. I am so happy to be a part of this awesome team.
This month's release is just as wonderful and diverse! (But on a side
note, how can it be OCTOBER?! I swear it was just July.) I am starting
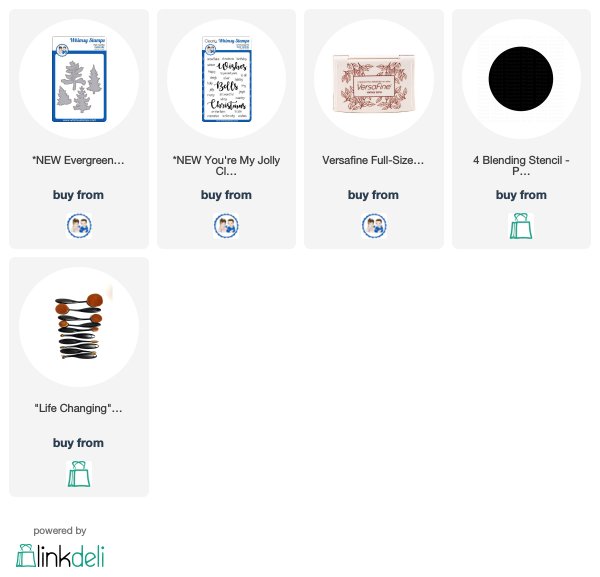
out with a combination of two new images: Evergreen Trees Die Set and You're My Jolly sentiment set.
When I make monoprints, I always clean my brayer on a sheet of white
cardstock. Those "cleaning sheets" actually end up being a beautiful
combination of colors. The one I chose today was a perfect fall leaf
combination for my tree.
I first made a circle using Antique Linen Distress Ink and a circle
stencil, then stamped my sentiment words in VersaFine Sepia. I cut my
tree (and another from the die set) a couple of times to see which print
design I liked better, and ended up using both, stacking them on top of
each other for dimension. I tied linen thread around the front two
distressed edge panels, and it's ready to mail!
You
can see the full sets for both new releases below - and be sure to
visit the Whimsy Blog for so many gorgeous creations from my teammates!
BUT before you go --
This begins TONIGHT! Click {HERE} for all the details! It's a month-long festival of prizes and projects!